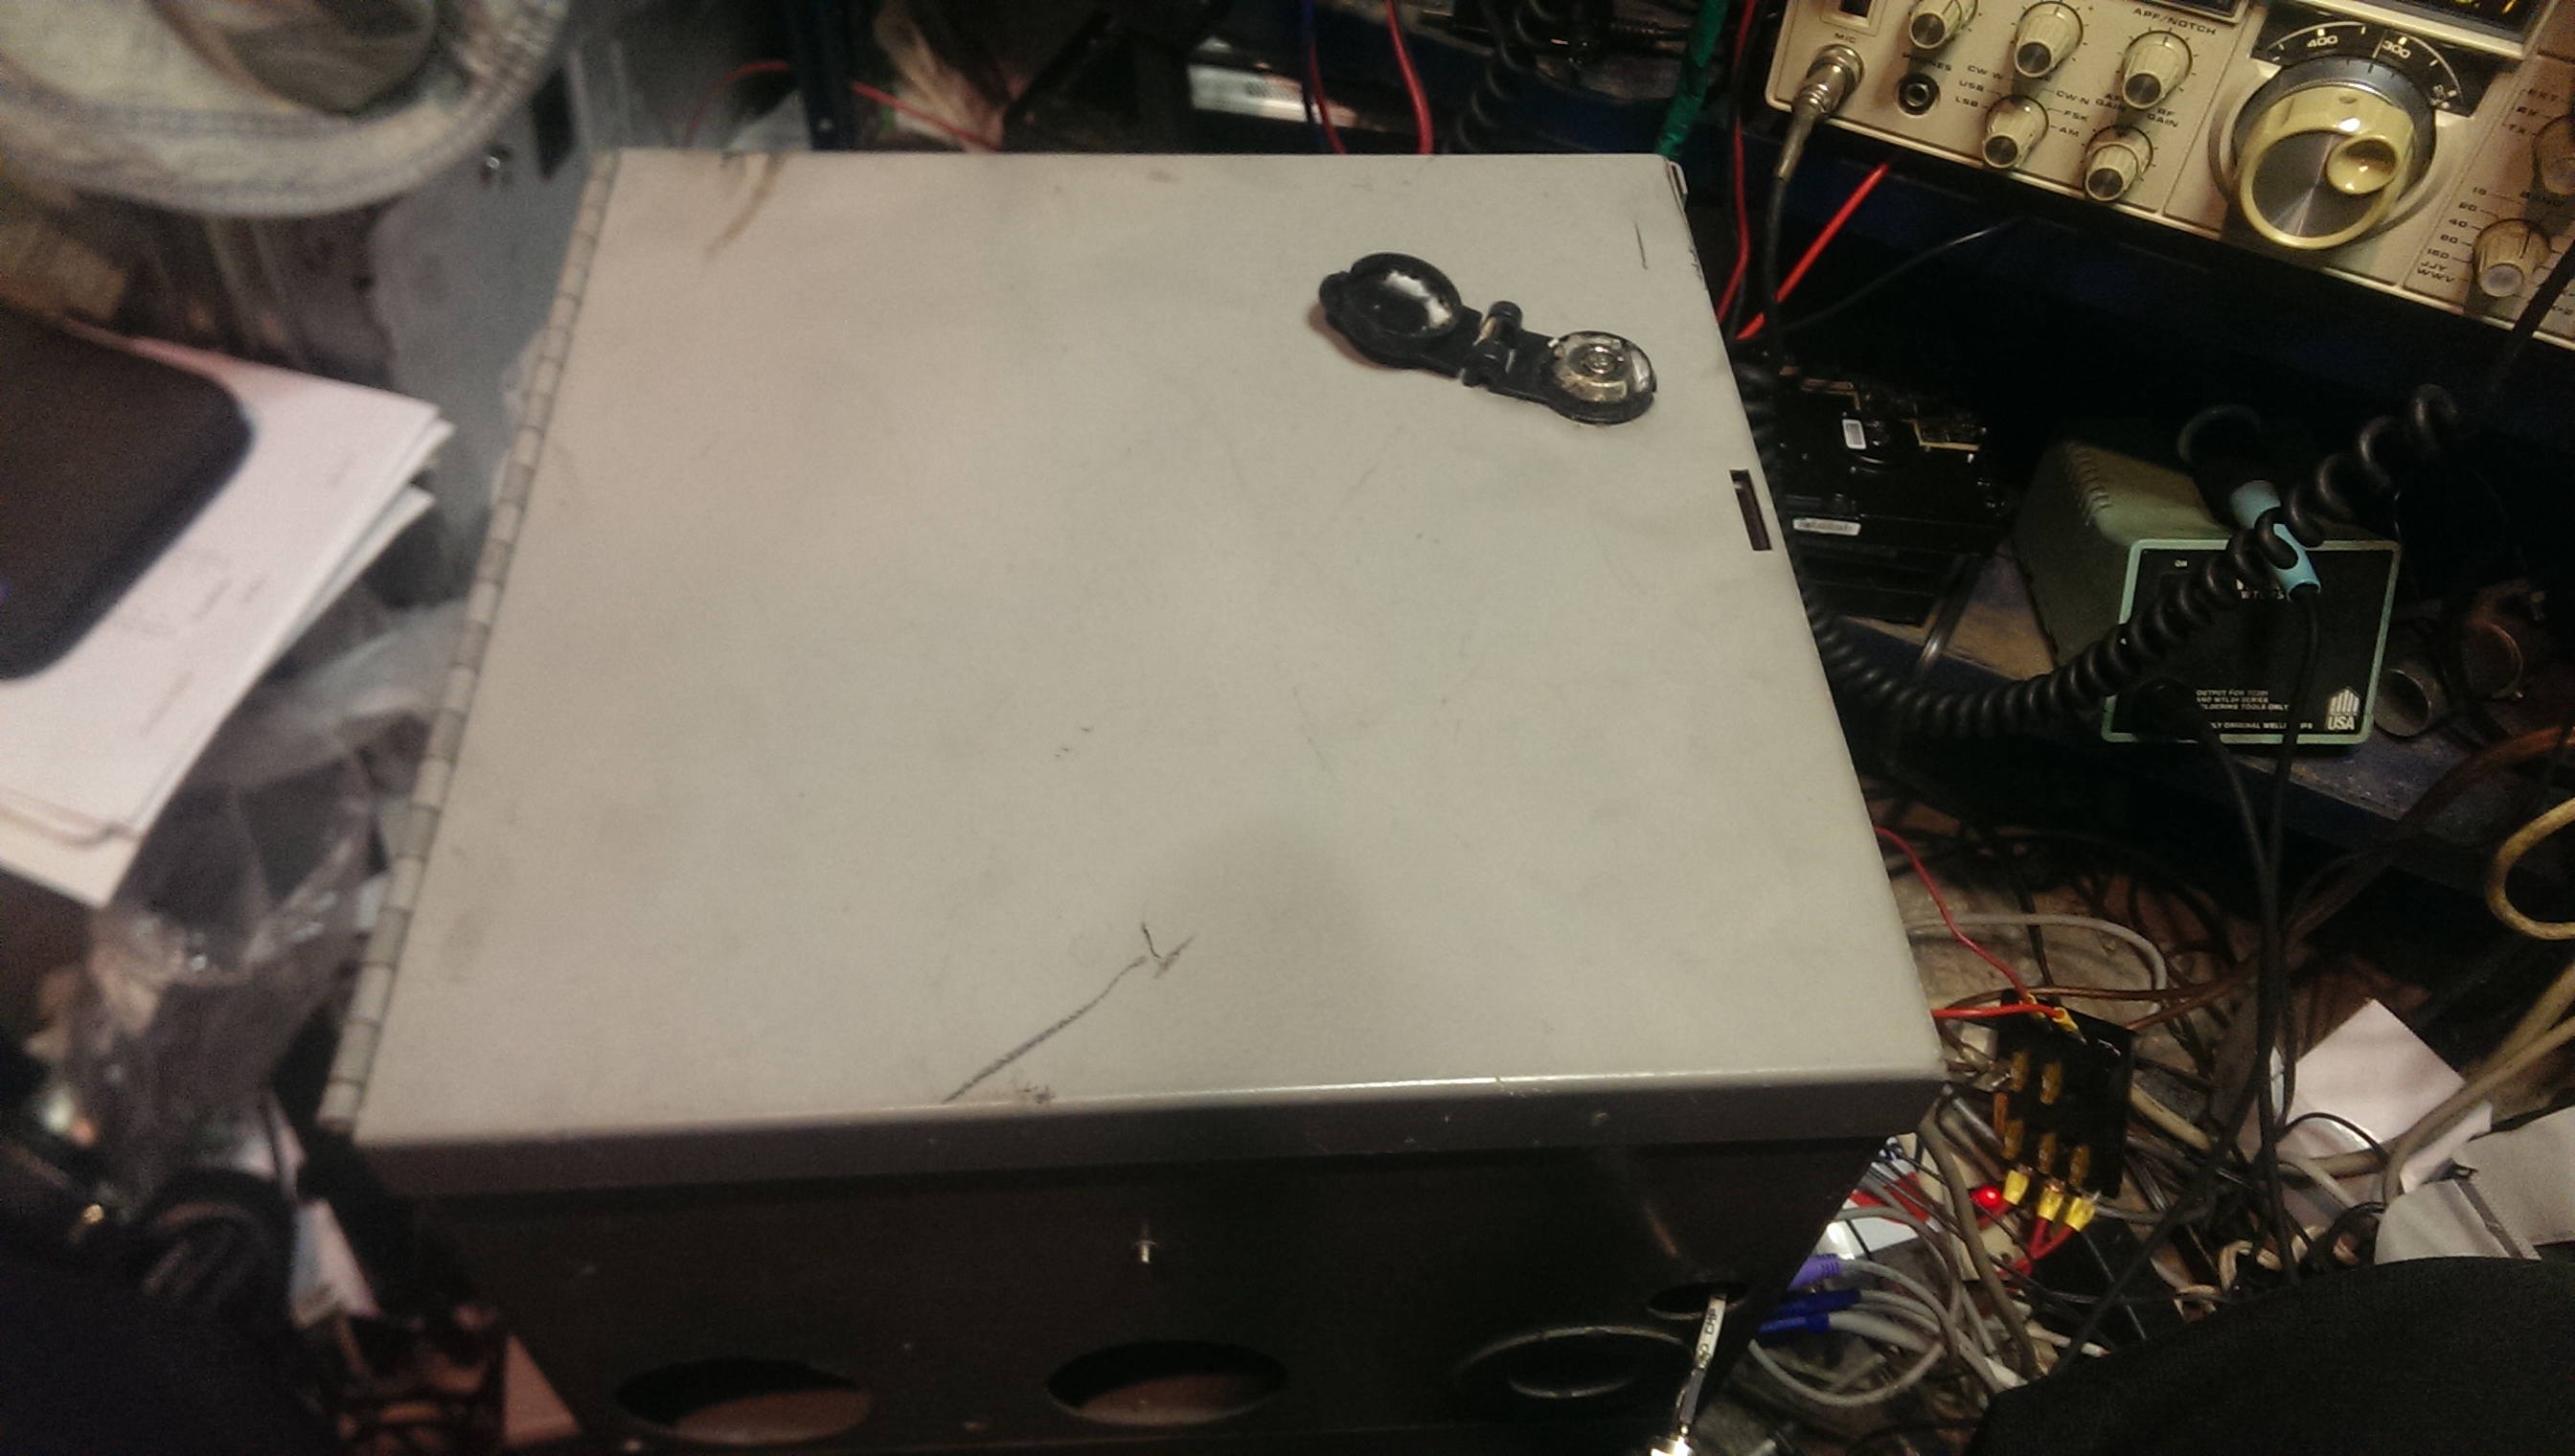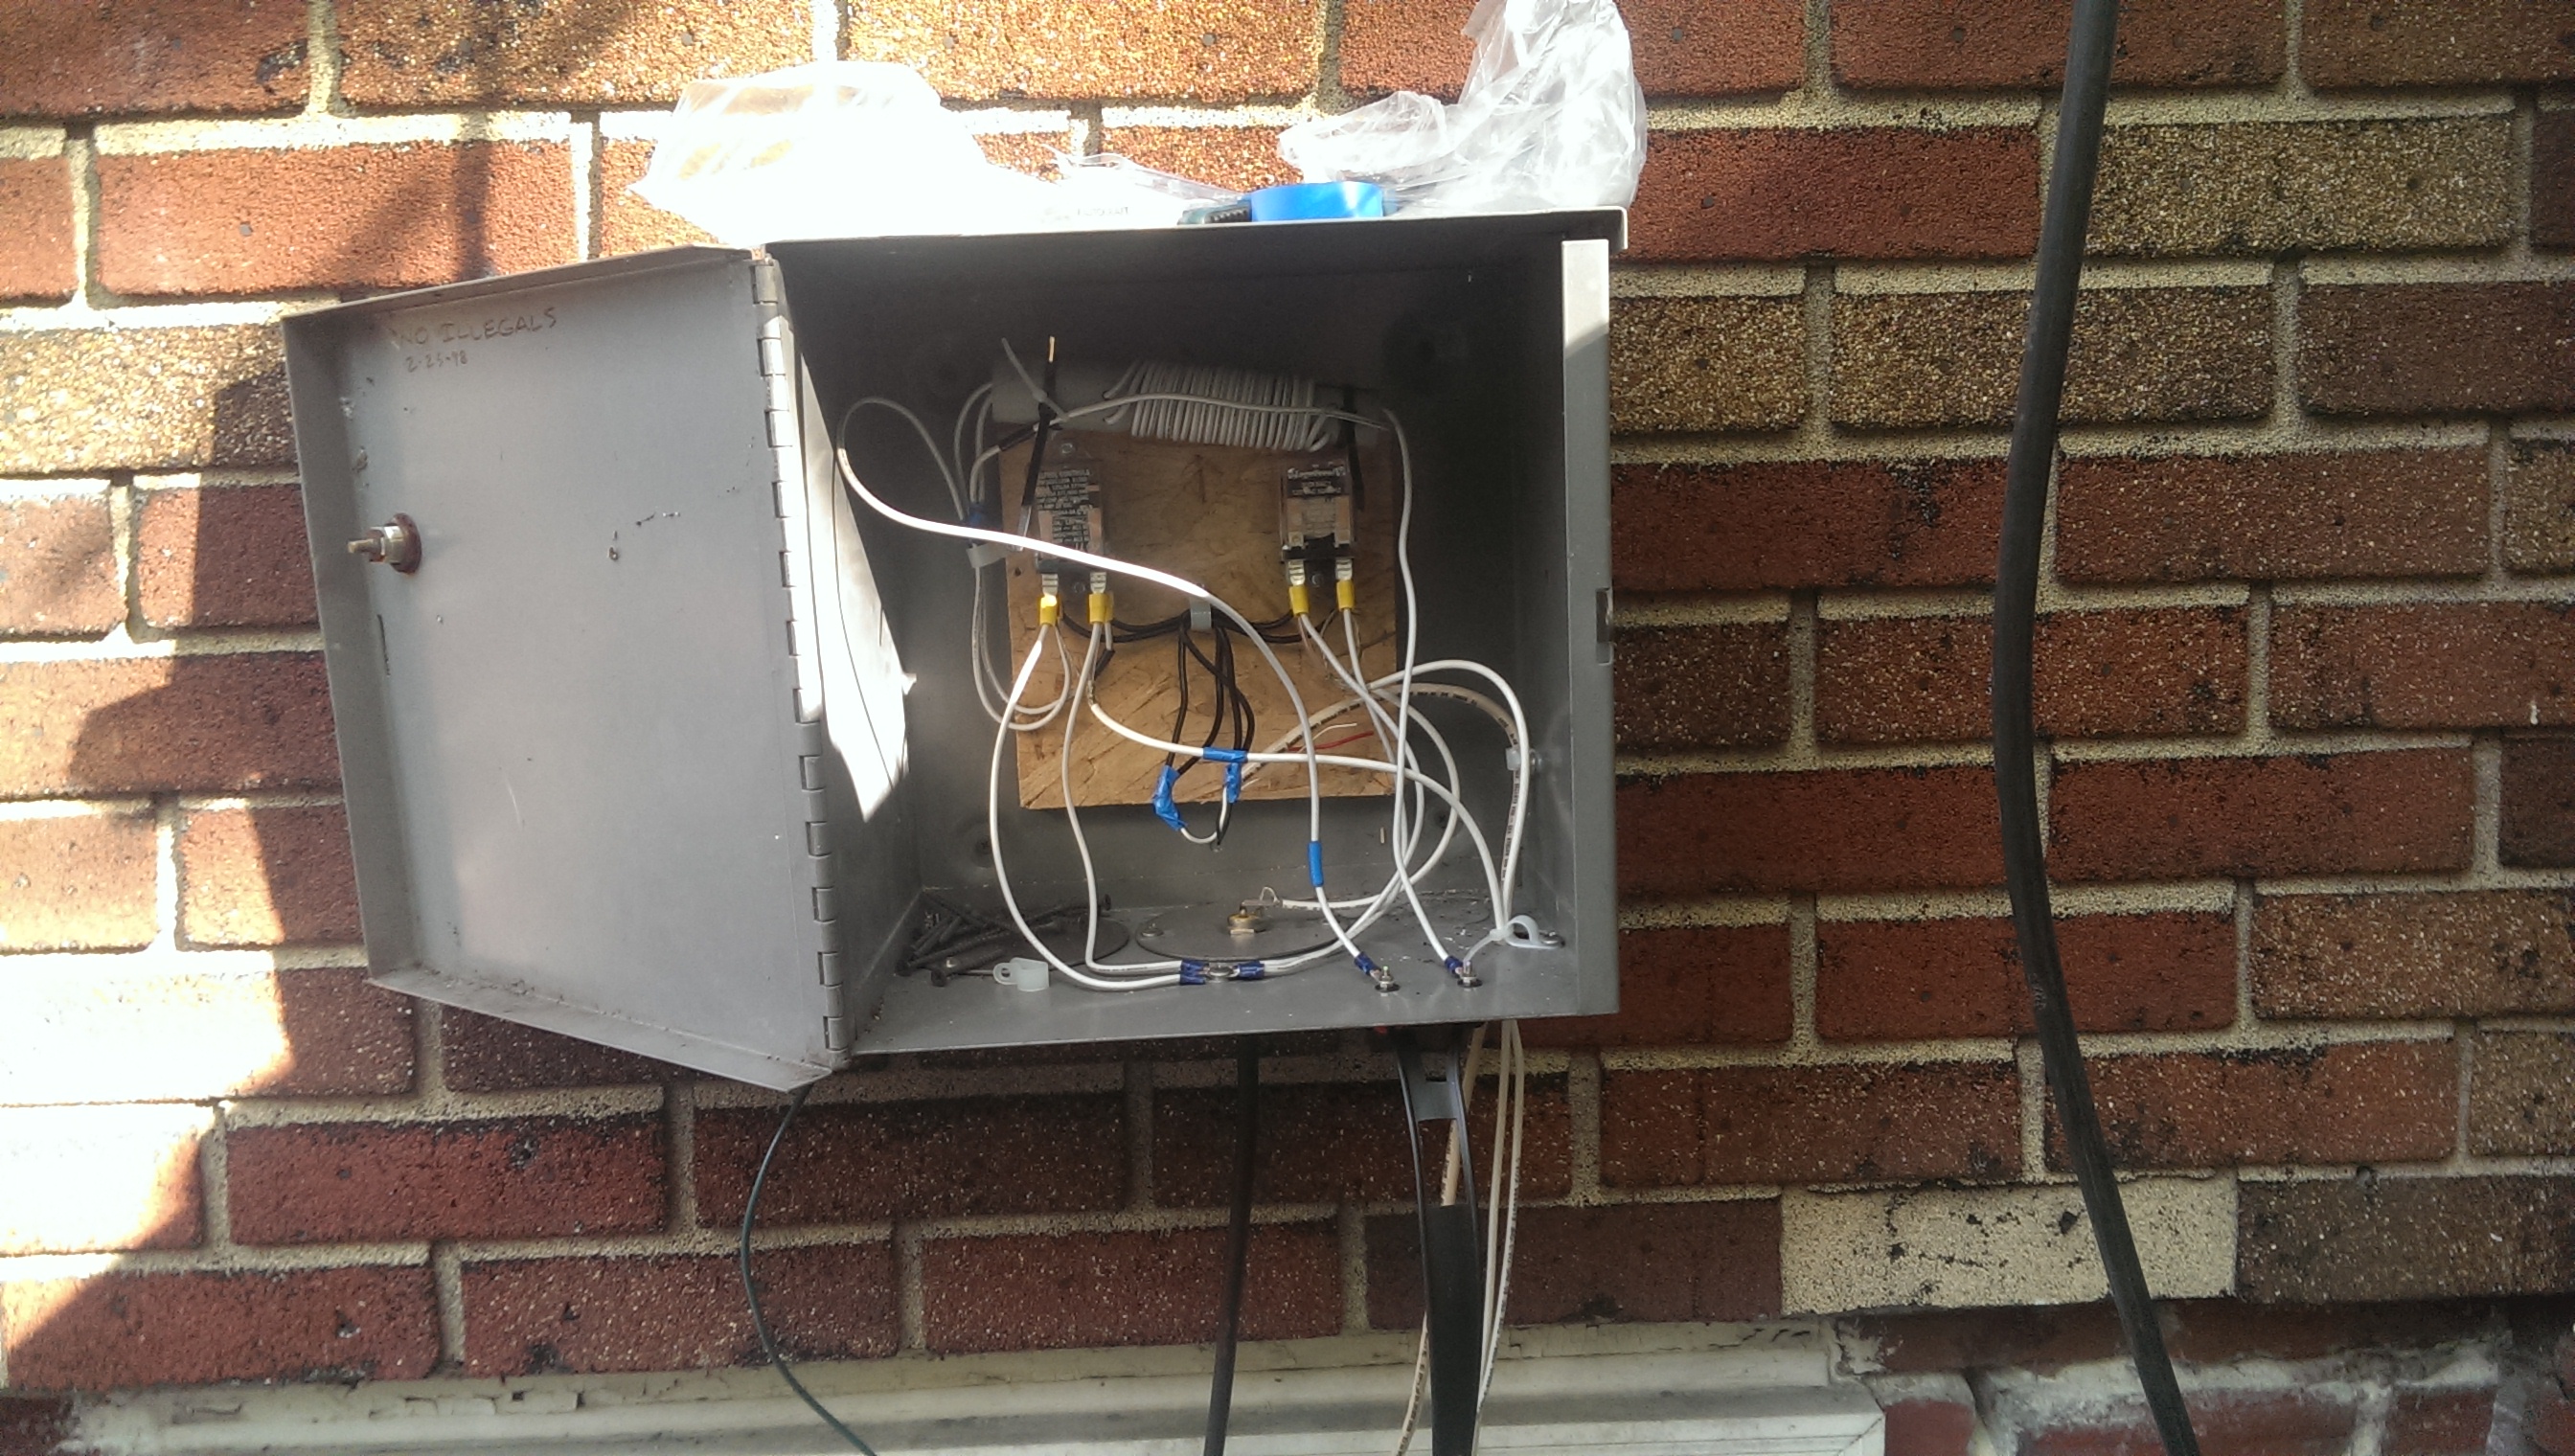
This is the box as I was assembling it, if you notice on the inside top of the box, there is a homemade 4:1 Balun that I made (I did a search on Youtube on how to make one) they are pretty easy, it is held in by plastic wire ties and 3/8ths round plastic wire hold downs.
the relays are tied together by separate wires connected together near the bottom of the box... Note the black wires going to the center of the box and then downward
I then connected both of the COMMON terminals of the relay on the right to my so239 connector mounted through the bottom of the box for my 10/11 meter antenna, and both of the COMMON terminals of the relay on the left to the two thumb terminals mounted through the bottom of the box for my Ladder line going to my Dipole
I then connected all four of the N.C. Terminals of BOTH relays to the metal box with a single Stainless Steel screw
this way, when the relays are powered up the antennas are connected to my radios and I can transmit and receive perfectly, when the power is off, the antennas default to ground and therefore no harmful stray static can reach the radios and possibly damage them
I then connected the box to a 5 foot grounding rod about 5 feet away with some wire and a stainless steel screw

This was me mounting it on the back of my house, I didnt have a post or anything like that to mount it upon so I just mounted it onto the house itself.
After mounting it onto the house I connected the two coax wires (rg58 small) and the 2 pair heavy wire,
The 4 coaxial wires (two braided and two centers) went to the N.O. connectors on the relays... (Since there was no real designation of the coaxes as yet, I taped one of them with some electrical tape to distinguish them)
the 2 pair wire I am only using two of the four wires for the relays as they do not use that much energy... (the other two wires I will be utilizing later on for something else)
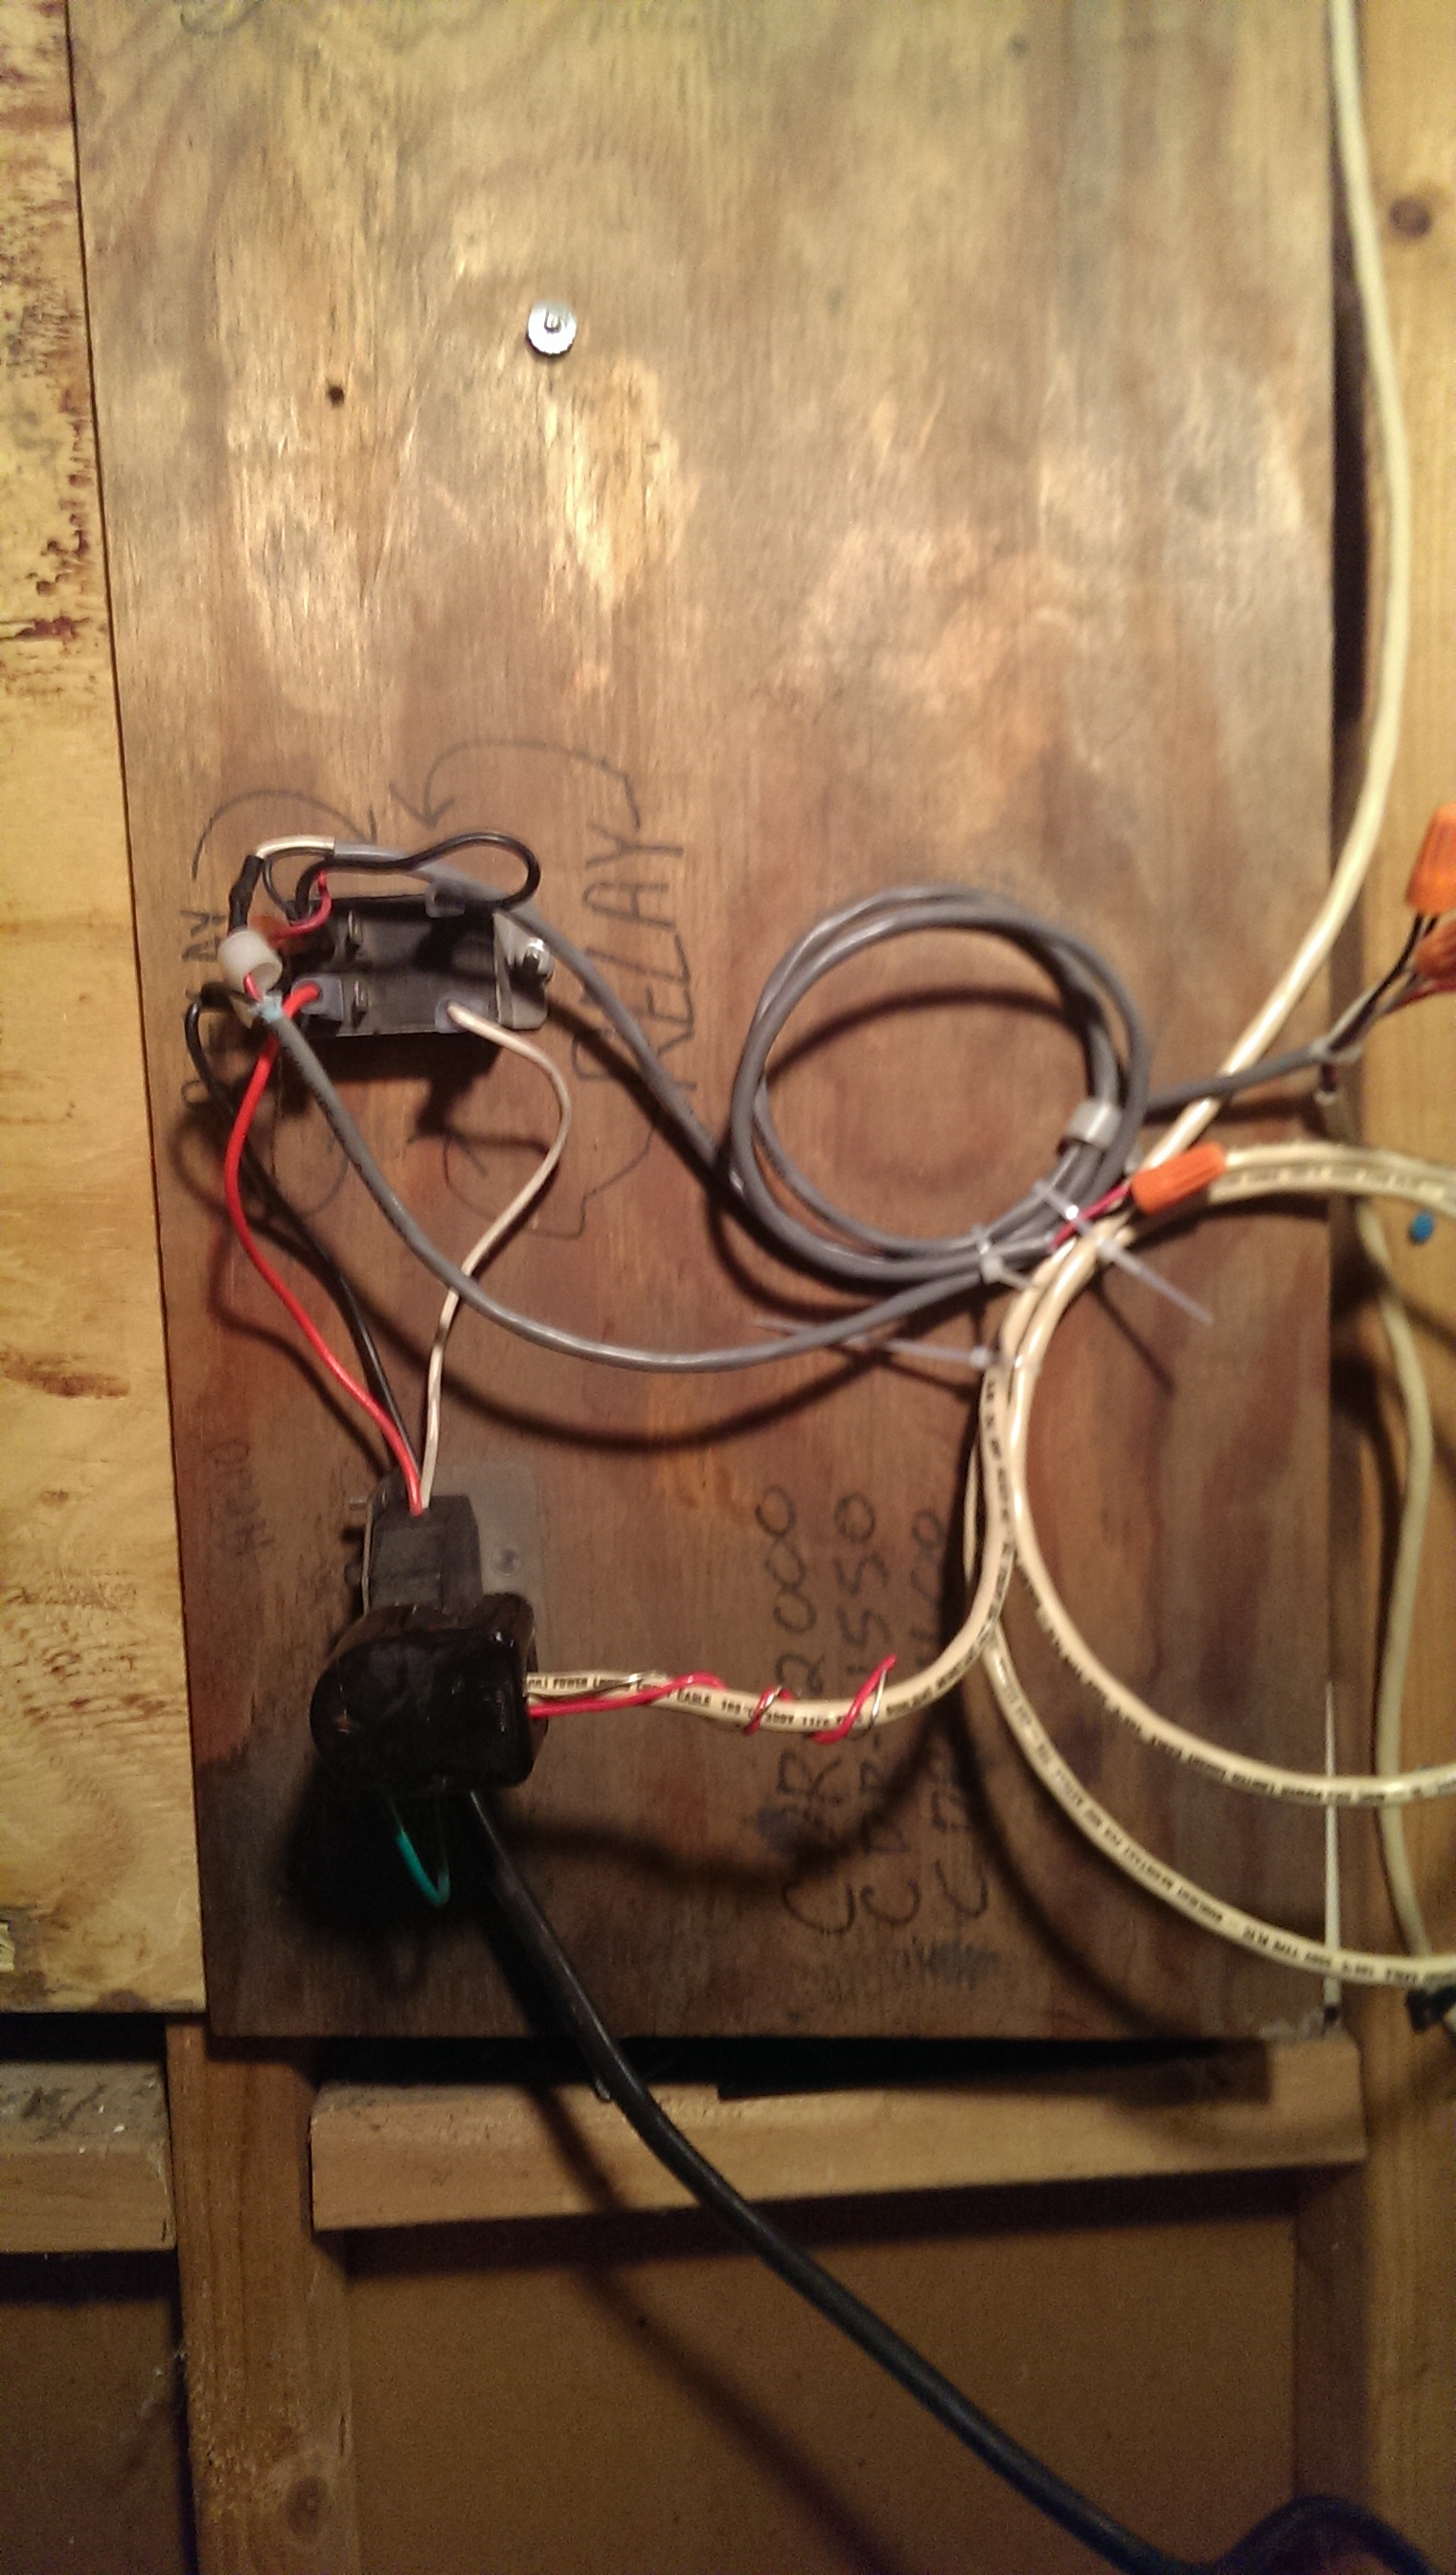
I ran all three wires through three holes in a window frame in my cellar back to my radios and the 2 pair goes to another relay assembly of my own making also, the whole set of relays are all controlled by pushbuttons

This is my Power controlling relay assembly that I have to power up the relays out in the box... one DPST (Double Pole Single Throw) relay that when the green button is pressed closes and makes a continuous loop circuit through one set of the four terminals, the other set of the terminals closes the connection for the power to go to the relays outside, if you press the red button, it severs the connection in the loop circuit keeping the relay engaged, therefore shutting off the relay as well as the relays outside

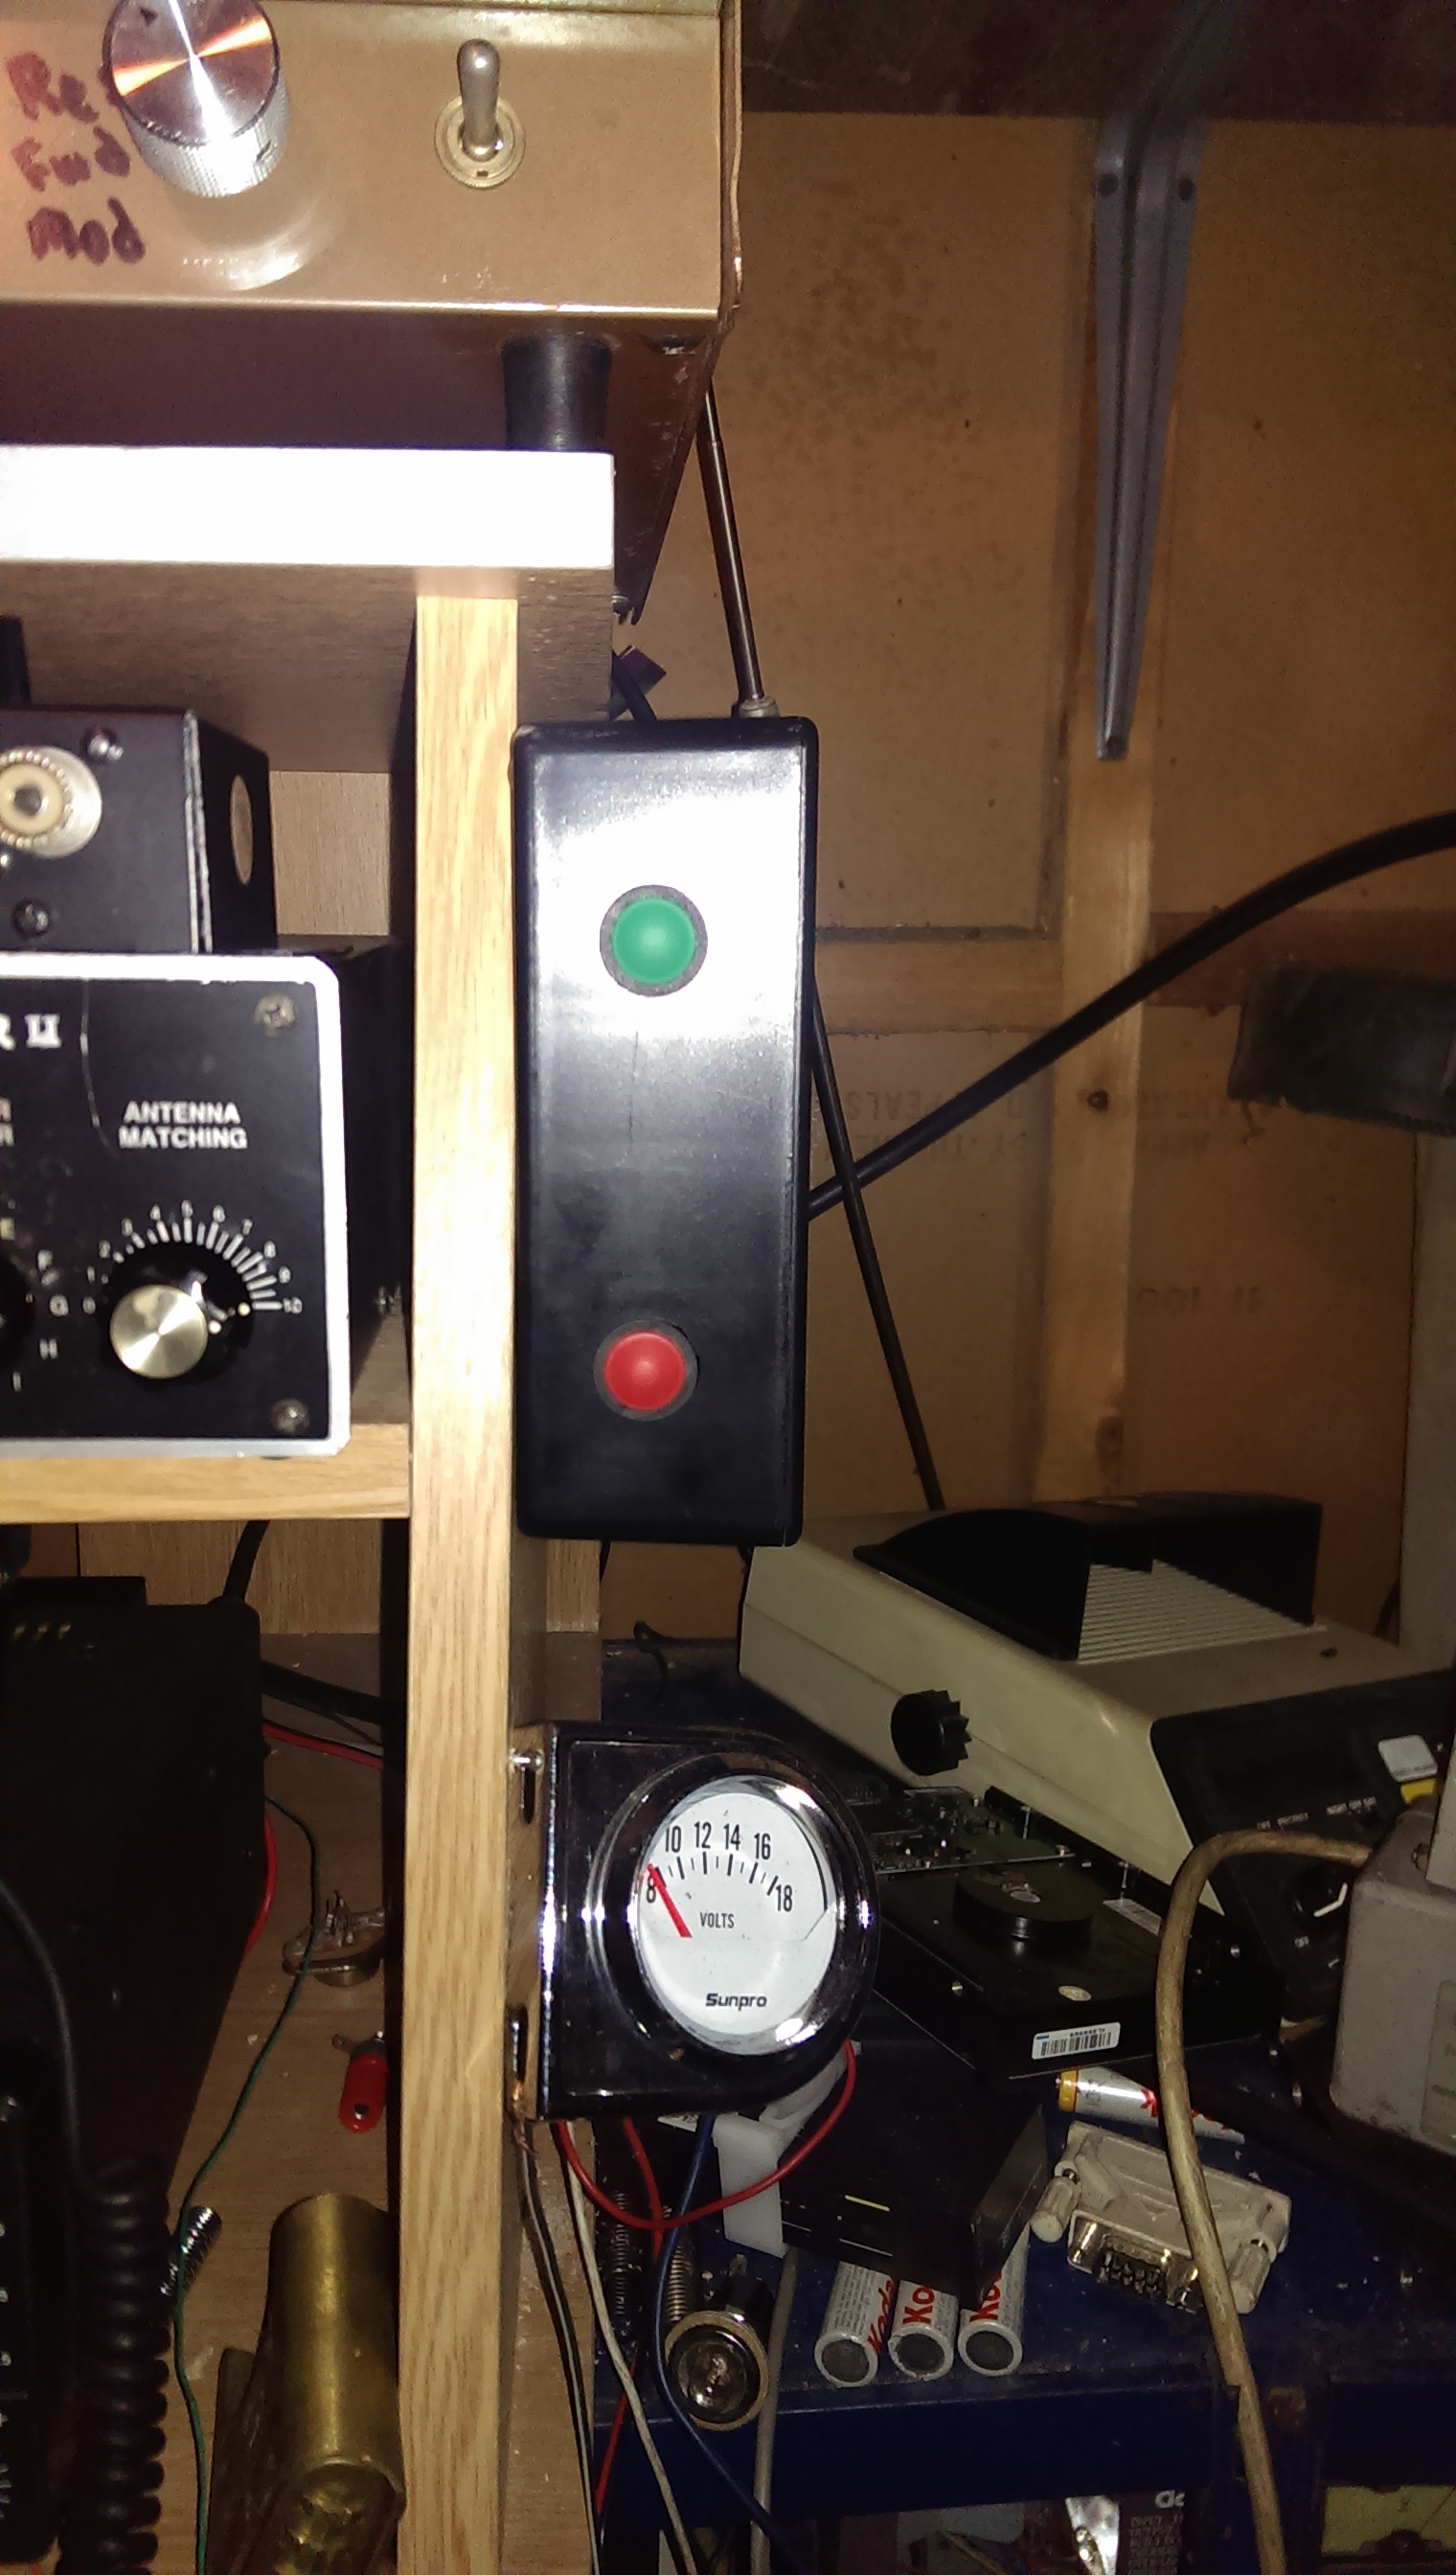
These are the pushbuttons that I am using to control the box, as you can see they are mounted into a RadioShack project box on the side.... the Green button should be a N.O. button, and the red should be N.C. to make it work properly (If you want it to be set up like mine) but you can very easily use a power strip to turn it on and off....whichever you as the possible builder prefers

So, the parts list is as follows
1:. A metal box with a small block of wood mounted to the back (you may need to make your own piece of wood)
2:.Two 120 volt DPDT relays (Unless you are only making it for one antenna setup, then you could use just one)
3:.some 14 Gauge wire (about 30+- feet of it, to make the Balun and a couple of the other connections)
4:. 1/4 inch FEMALE Spade terminal connectors (To connect to the bottom of the relays)
5:. some RG58 Coax (Whichever size, and length you use is up to you)
6:. one SO239 Coax connector (Preferably a panel mount with the four screw holes at it's base
7:. Wire ties, both 3 inches long and 8-10 inches long
8:. Screw on wire Terminals (Like you see on most higher end power supplies)
9:. 3/8th inch wire hold downs
10:. 1 piece of PVC pipe 1 inch inner diameter (For the Balun) about 7-10 inches long
11:. Two PL259 connectors, (and reducers if needed)
12:. a LOT OF TIME AND PATIENCE
I must say this, I do not hold any copywrights to any of the materials mentioned in this document, nor am I responsible for anyone trying to build this item and causing serious harm to either themselves, to others, or to their radios.... this was a project of mine that I just happened to share with some people, and they took a keen interest in how my progress was doing with it.... oh, Ever since I incorporated this into my system and started using it, my antennas all seem to tune in a lot more easier than before... And I DO NOT hear any kind of hum or QRM from the relays, on ANY band....
Also, you might want to think about finding some way to lock it, so that nobody can open the box and tamper with any of the wiring inside
If you want you can send me an Email to 'n1clb AT n1clb DOT com' just replace the AT and dot with the @ and the period symbols.
(I put it like this so that the site trollers won't get my email address and send me spamm emails)
To get back to the Main Page Home